


ARTICLE CONTENTSOn this page 9 sections
Non-Living Things
Performance Objectives
By the end of the lesson, students should be able to:
- identify non-living things in the classroom, school environment, home and immediate community;
- sort things into groups based on observable characteristics like colour, texture, etc.
What Are Non-Living Things?
Non-living things are things that do not have life. They cannot grow, move on their own, eat, breathe, or have babies.
Non-living things are all around us. They can be found in homes, schools, and communities.
Non-Living Things in the Classroom
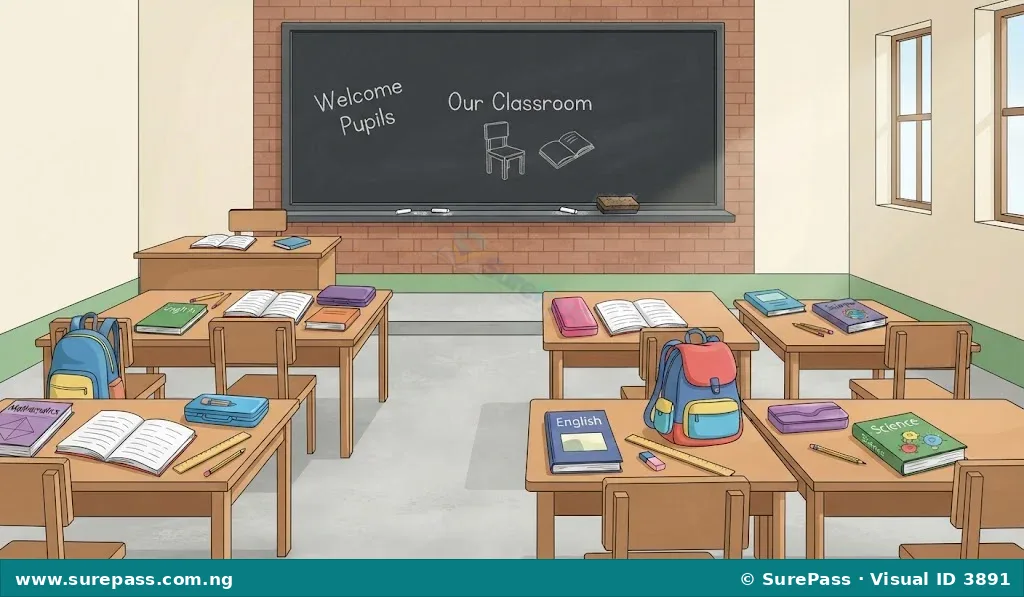
The classroom contains many non-living things that help with learning and teaching. These objects do not grow or move by themselves.
Examples of non-living things in the classroom include:
- Tables
- Chairs
- Books
- Bags
- Pencils
- Rulers
- Blackboards
- Chalk
- Erasers
- Paper
Non-Living Things in the School Environment
The school environment outside the classroom also has many non-living things. These things are part of the school building and grounds.
Examples of non-living things in the school environment include:
- Stones
- Soil
- Water (in taps or puddles)
- Air
- School building
- Fences
- Gates
- Swings
- Slides
- Football goalposts
Non-Living Things in the Home
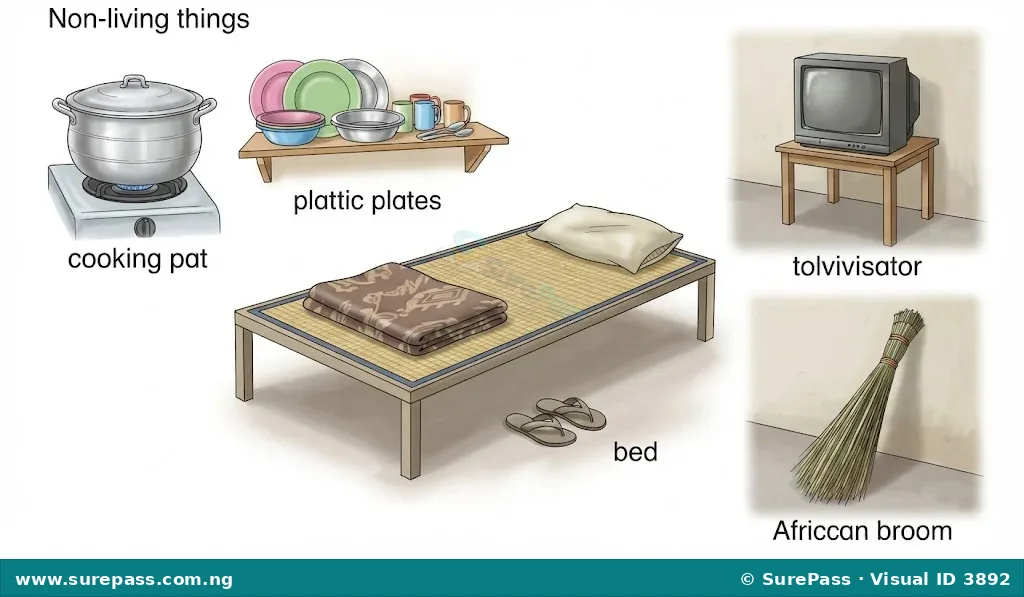
Homes are full of non-living things that people use every day. These items help with daily tasks and make the home comfortable.
Examples of non-living things in the home include:
- Pots
- Plates
- Cups
- Spoons
- Beds
- Televisions
- Radios
- Clothes
- Brooms
- Buckets
Non-Living Things in the Immediate Community
The immediate community, which is the area around the home and school, also has many non-living things. These are things seen on roads, in markets, or in other public places.
Examples of non-living things in the immediate community include:
- Cars
- Bicycles
- Roads
- Houses
- Market stalls
- Lamp posts
- Sign boards
- Bridges
- Dustbins
- Walls
Collecting and Keeping Non-Living Things
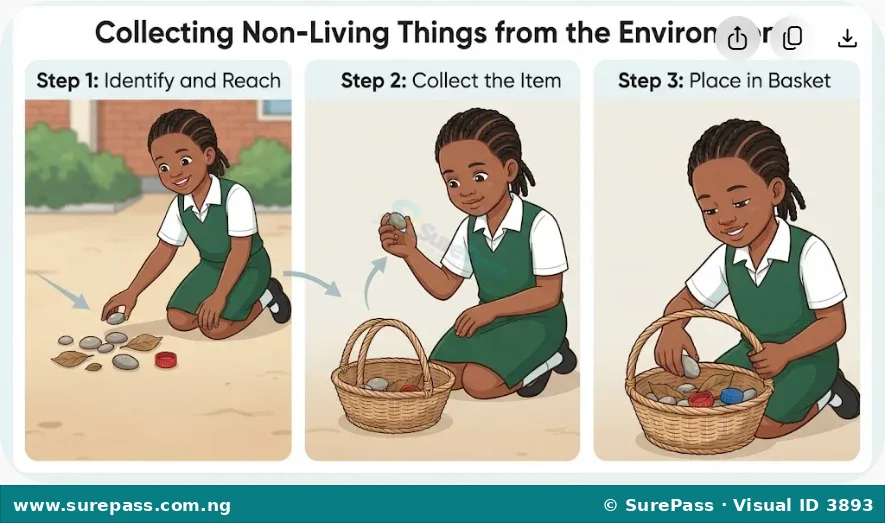
Collecting non-living things helps in learning about them. It is important to collect items that are safe and easy to handle.
The procedure for collecting and keeping non-living things involves the following steps:
- Look for safe items: Find small, safe non-living things in the environment. Examples include small stones, dry leaves, pieces of paper, bottle caps, or small plastic toys.
- Pick them carefully: Gently pick up the chosen items. Avoid anything sharp, dirty, or heavy.
- Place in a container: Put the collected items into a clean box, basket, or plastic bag.
- Keep them clean: If an item is dusty, gently wipe it with a dry cloth.
- Store them safely: Keep the box or bag in a safe place where the items will not get lost or damaged. This helps to preserve them for future learning.
Sorting Non-Living Things
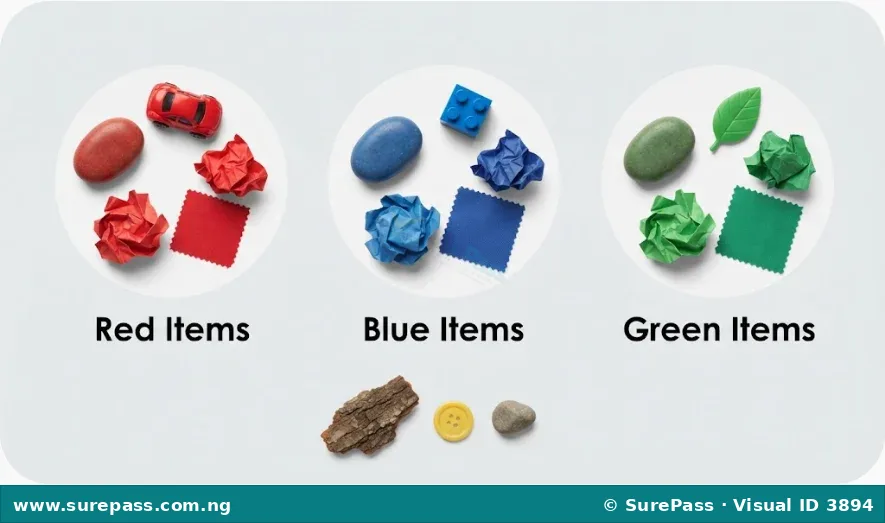
Non-living things can be sorted into groups based on what they look like or how they feel. This helps to understand their different characteristics.
The procedure for sorting non-living things involves the following steps:
- Gather items: Collect a variety of non-living things, such as stones, leaves, paper, plastic objects, and fabric pieces.
- Choose a characteristic: Decide how to sort the items. Common ways to sort include:
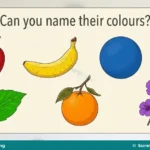
- By colour: Group all the red items together, all the blue items together, and so on.
- By texture: Group items that feel smooth together, and items that feel rough together.
- By size: Group small items together and big items together.
- Create groups: Place the items into separate piles or sections based on the chosen characteristic. For example, if sorting by colour, make a pile for red items, a pile for blue items, and so on.
- Observe the groups: Look at the different groups and notice how the items in each group are similar.


0 comments
Open the discussion when you need it. Comments stay collapsed until requested so the initial article remains light.