



ARTICLE CONTENTSOn this page 6 sections
Taking Body Measurements
Performance Objectives
By the end of the lesson, students should be able to:
- identify the importance of taking accurate body measurements;
- know the rules guiding the taking of body measurements;
- take body measurements.
Garment making begins long before any fabric is cut or sewn. One of the most important first steps is taking accurate body measurements. These measurements are like a map of a person’s body, guiding the creation of clothes that fit perfectly.
Importance of Taking Accurate Body Measurements
Taking accurate body measurements is a crucial step in fashion design and garment making. It ensures that the clothes made will fit the person well and helps to avoid wasting valuable materials.
For Accurate Clothing Fit
When measurements are taken correctly, the clothes made from them will fit the wearer comfortably and look good. Clothes that are too tight can be uncomfortable and restrict movement, while clothes that are too loose can look baggy and untidy. Accurate measurements ensure that a dress sits well on the shoulders, a pair of trousers fits correctly around the waist, and a shirt has the right sleeve length. This leads to garments that are pleasant to wear and presentable.
To Avoid Wasting of Fabrics
Fabric is a valuable and often expensive material. If body measurements are inaccurate, the garment might be cut incorrectly. For example, if a measurement is too small, the fabric cut for that part of the garment might be too small to use, leading to waste. Similarly, if a measurement is too large, excess fabric might be cut and then trimmed away, which is also a form of waste. Accurate measurements help to calculate the exact amount of fabric needed, reducing errors and saving money and resources.
Tools for Taking Body Measurements
To take accurate body measurements, specific tools are needed. These tools help to ensure precision and proper recording of the measurements.
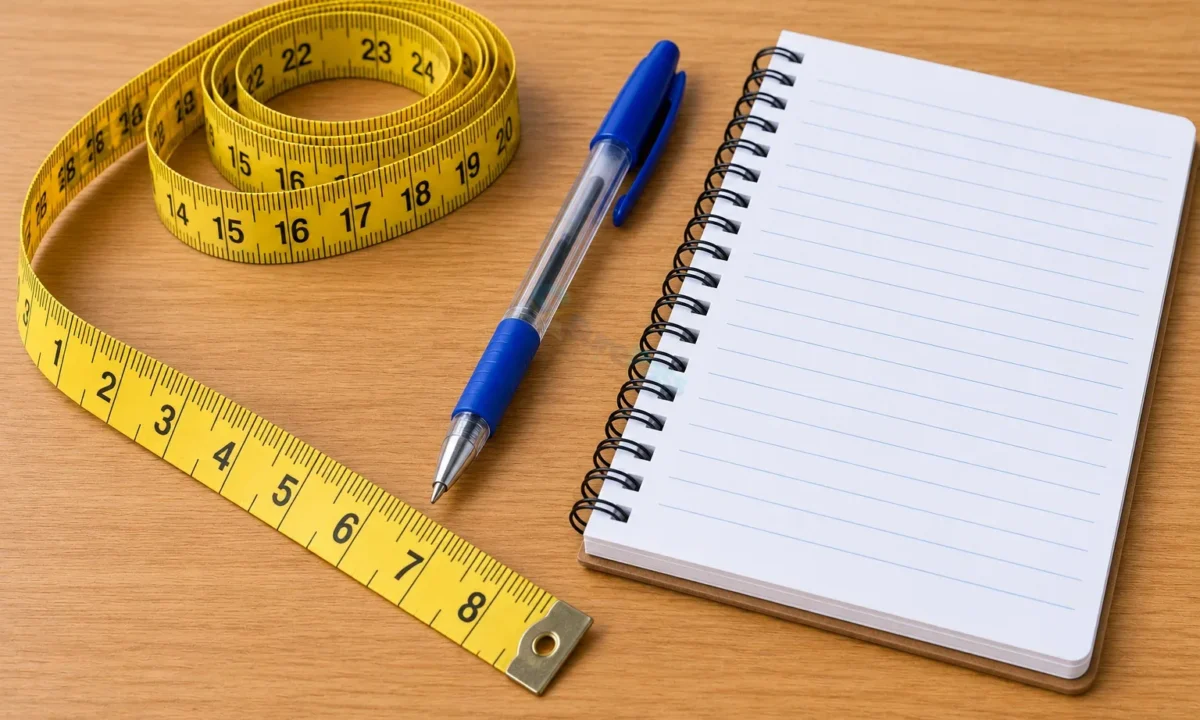
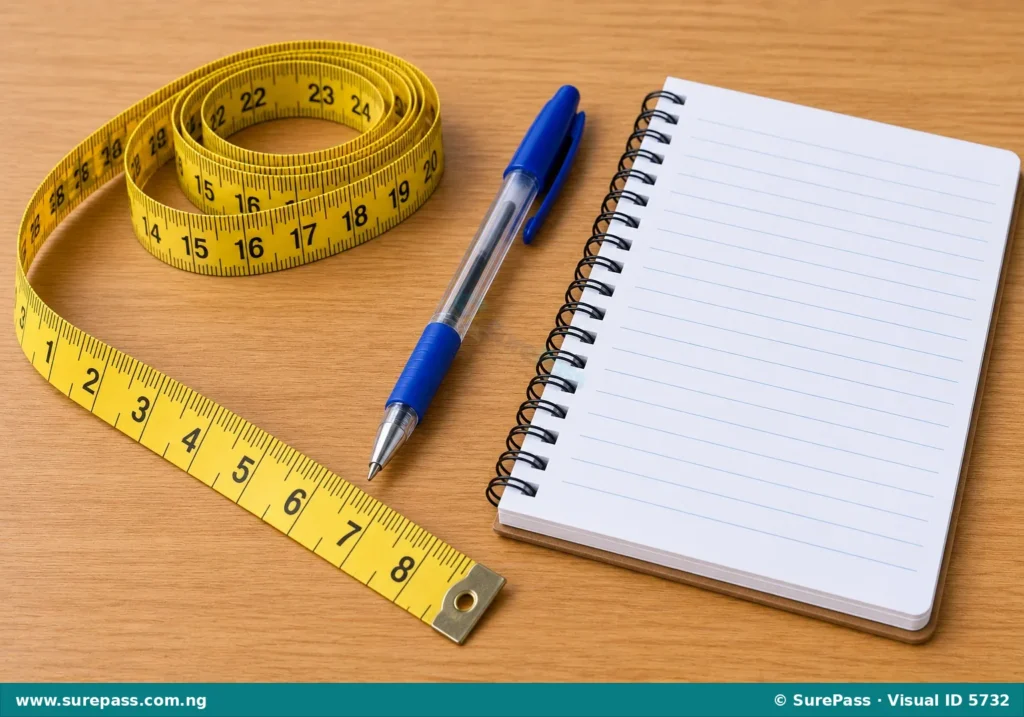
The essential tools for taking body measurements include:
- Measuring Tape: This is a flexible tape, usually made of cloth or plastic, marked with measurements in both centimetres and inches. Its flexibility allows it to wrap around curved parts of the body, such as the bust, waist, and hips, to get precise readings.
- Biro/Pencil: A writing tool is needed to record the measurements as they are taken. It is important to use a pen or pencil that writes clearly.
- Paper or Book: A notebook or a sheet of paper is used to write down all the measurements. This record ensures that the measurements are not forgotten and can be referred to during the garment-making process.
Rules for Taking Body Measurements
Following certain rules helps to ensure that body measurements are accurate and consistent. These rules are important for achieving a good fit in any garment.
The rules guiding the taking of body measurements include:
- Stand Straight and Relaxed: The person being measured should stand in a natural, upright posture, looking straight ahead, with their feet together and arms relaxed at their sides. They should not hold their breath or tense their muscles.
- Wear Light Clothing: Measurements should ideally be taken over light undergarments or close-fitting clothing. Bulky clothes can add extra inches and lead to inaccurate readings.
- Hold the Tape Snugly: The measuring tape should be held firmly against the body, but not so tight that it compresses the skin or clothing. It should also not be too loose, as this will result in larger, incorrect measurements.
- Keep the Tape Level: For horizontal measurements (like bust, waist, hips), ensure the tape is parallel to the floor all around the body. For vertical measurements (like length), the tape should hang straight down.
- Take Measurements Twice: To ensure accuracy, take each measurement two times. If the two readings are different, take it a third time and use the most consistent reading.
- Record Immediately: Write down each measurement as soon as it is taken to avoid forgetting or mixing up numbers.
- Respect Personal Space: When measuring another person, always be respectful of their personal space and comfort. Explain what you are doing before you do it.
How to Take Body Measurements
Taking body measurements involves carefully measuring specific parts of the body using the correct tools and following the established rules. This practical skill is fundamental for anyone involved in garment making.
The procedure involves the following steps:
- Prepare the Person: Ask the person to stand straight and relaxed, wearing light clothing.
- Prepare Your Tools: Have your measuring tape, biro/pencil, and paper/book ready.
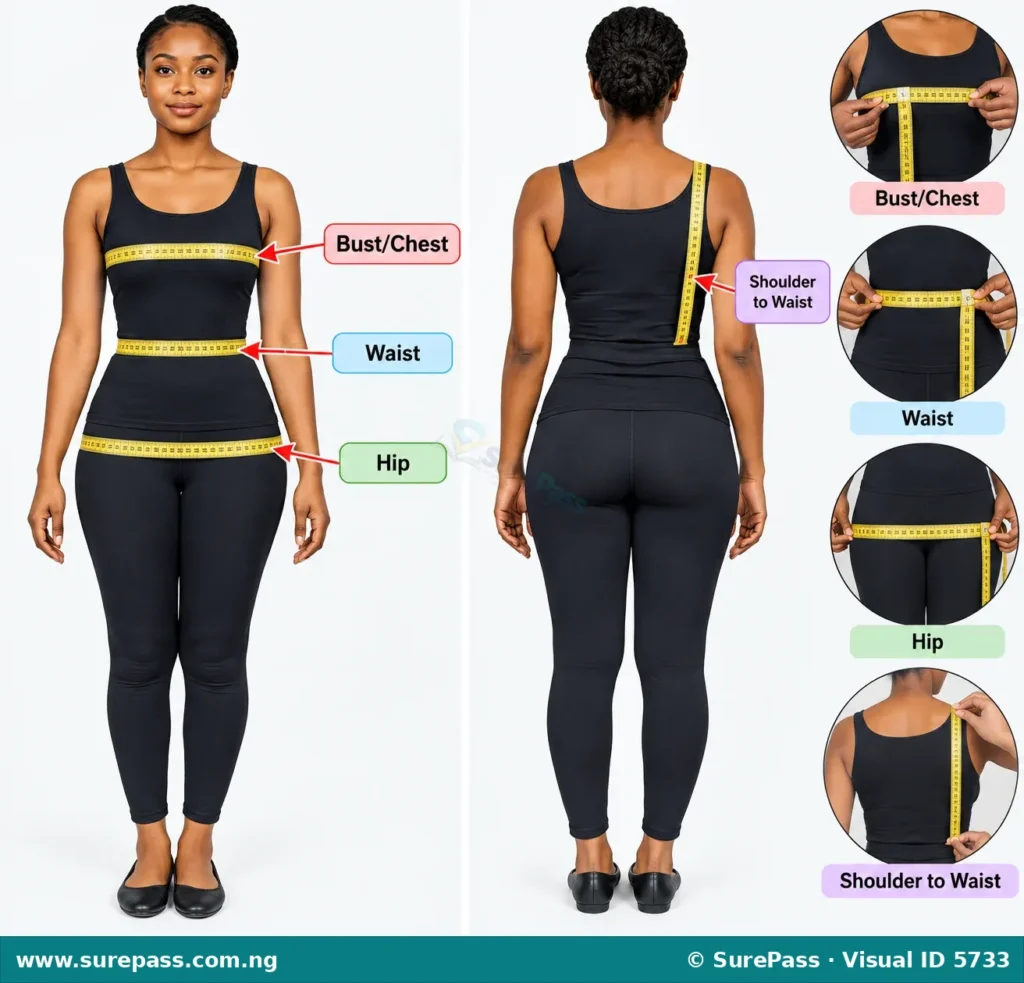
- Measure the Bust/Chest:
- Wrap the measuring tape around the fullest part of the bust (for females) or chest (for males).
- Ensure the tape is level all around the body and passes over the shoulder blades at the back.
- Read the measurement and record it.
- Measure the Waist:
- Find the natural waistline, which is usually the narrowest part of the torso, just above the navel.
- Wrap the measuring tape around this part, keeping it level.
- Read the measurement and record it.
- Measure the Hip:
- Wrap the measuring tape around the fullest part of the hips and buttocks.
- Ensure the tape is level all around the body.
- Read the measurement and record it.
- Measure Shoulder to Waist Length:
- Place the end of the measuring tape at the prominent bone at the base of the neck (at the side of the neck, where the shoulder begins).
- Let the tape hang straight down to the natural waistline.
- Read the measurement and record it.
- Measure Skirt Length:
- Place the end of the measuring tape at the natural waistline.
- Let the tape hang straight down to the desired length of the skirt (e.g., knee-length, ankle-length).
- Read the measurement and record it.
- Double-Check: Repeat each measurement to confirm accuracy before finalising the record.

0 comments
Open the discussion when you need it. Comments stay collapsed until requested so the initial article remains light.