



ARTICLE CONTENTSOn this page 9 sections
Digital sketching platforms
Performance Objectives
By the end of the lesson, students should be able to:
- explain the meaning of digital sketching platforms;
- identify the various types of digital platforms for sketching;
- get familiarized with a digital sketching platform (e.g. Autodesk Sketchbook).
Meaning of Digital Sketching Platforms
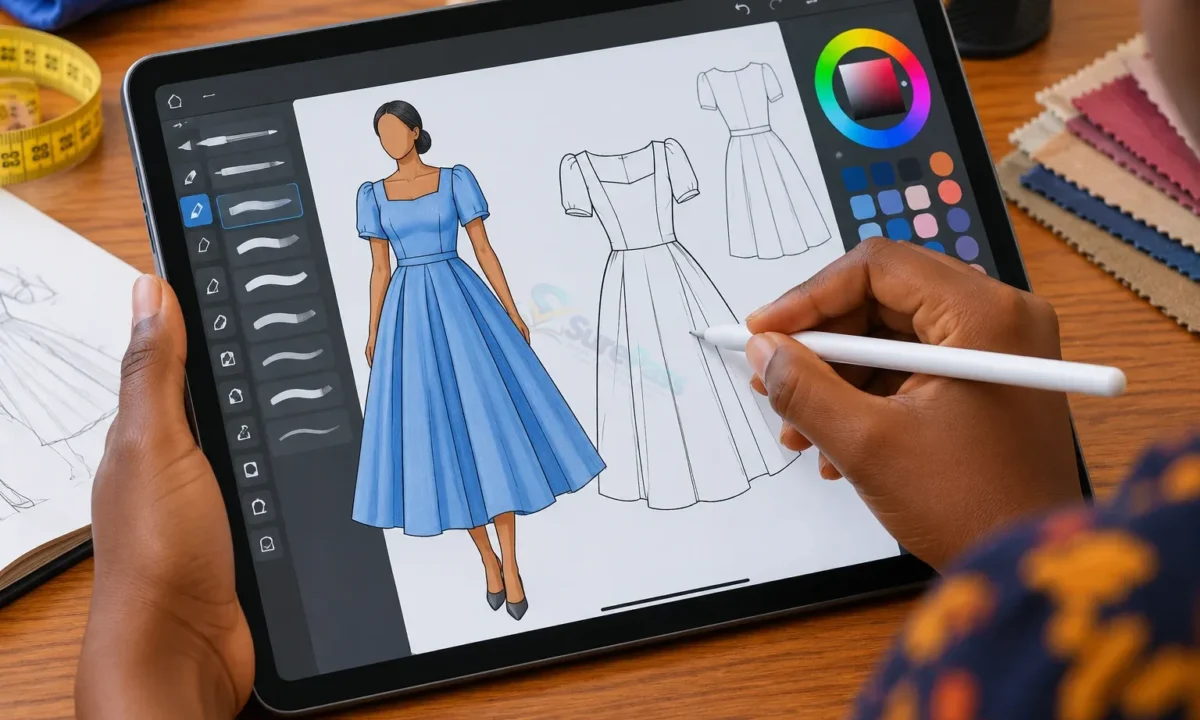
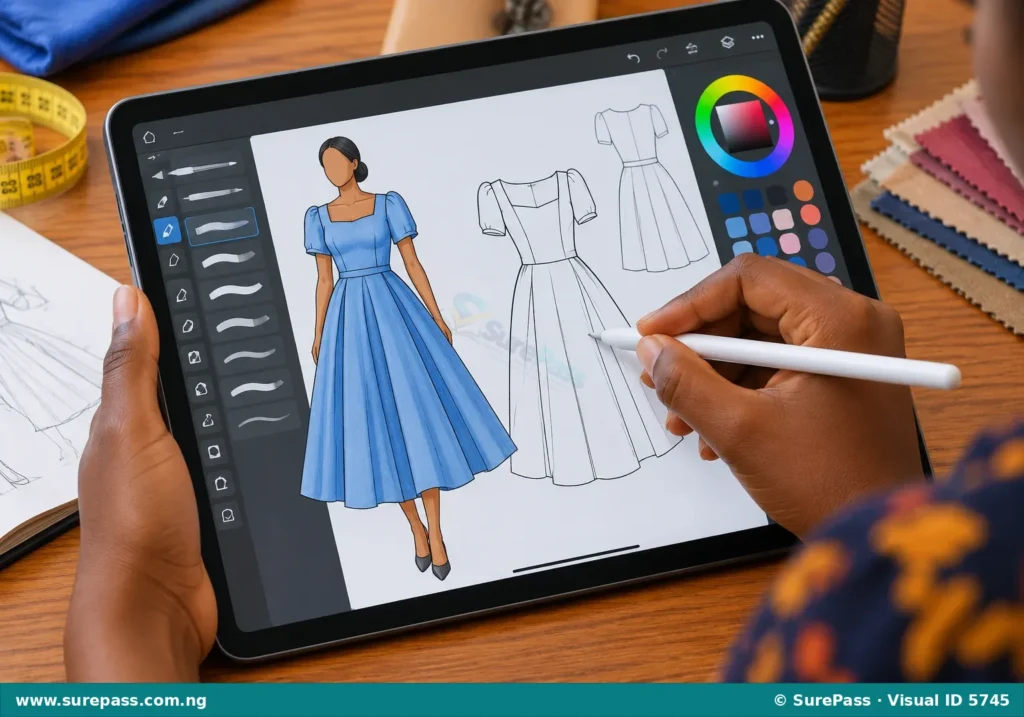
A digital sketching platform is a software application or digital tool used on computers, tablets, or smartphones to create drawings, designs, and illustrations electronically.
In fashion design and garment making, digital sketching platforms have largely replaced traditional paper, pencils, and markers. Instead of drawing on physical paper, designers use a stylus (a digital pen) or their fingers to draw directly on a screen. This modern method allows fashion designers to create, edit, save, and share their garment designs quickly and efficiently.
Observe the image below to see how a digital sketching platform is used in fashion design.
Types of Digital Platforms for Sketching
There are several digital platforms available for fashion sketching. Some are designed for beginners, while others are used by professional designers. These platforms can be accessed on different devices such as desktop computers, laptops, tablets, and mobile phones.
Common types of digital sketching platforms include:
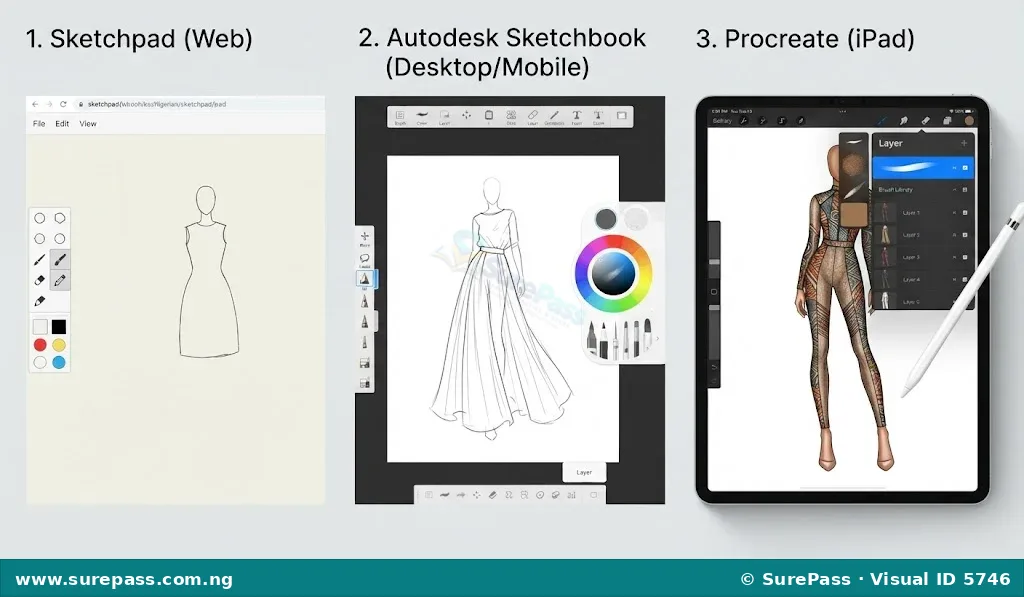
- Sketchpad: A simple, web-based drawing tool that runs directly inside an internet browser. It is highly suitable for beginners who want to practice drawing basic shapes, lines, and simple garment outlines without installing heavy software.
- Autodesk Sketchbook: A highly popular, professional-grade drawing application that is completely free to use. It features a clean, user-friendly interface and is available on computers, tablets, and mobile phones. It is widely used in schools to teach digital fashion illustration.
- Procreate: A powerful and advanced digital sketching application designed specifically for iPad and iOS devices. It is highly favoured by professional fashion designers for its advanced brush library, smooth drawing experience, and high-resolution canvas options.
- Adobe Illustrator: A professional vector-based design software used in the fashion industry to create precise technical sketches, flat drawings, and pattern layouts.
The diagram below shows the logos and basic interfaces of common digital sketching platforms.
Navigation and Familiarization with Autodesk Sketchbook
To use Autodesk Sketchbook effectively, a designer must understand its interface and how to navigate the workspace. The workspace is designed to keep the screen clean so that the designer can focus on drawing.
The main parts of the Autodesk Sketchbook interface include:
- The Canvas: This is the central white area of the screen where all the drawing and sketching takes place. It acts as the digital sheet of paper.
- The Menu Bar: Located at the top of the screen, this bar contains essential controls such as File options (Save, Open, New), Undo (to go back a step), Redo (to go forward a step), and import tools.
- The Brush Library: Located on the left side of the screen, this panel contains various drawing tools such as pencils, felt-tip pens, airbrushes, markers, and erasers.
- The Colour Editor: This tool, often displayed as a colour wheel or colour puck, is used to select different colours and adjust their brightness or darkness.
- The Layer Editor: Located on the right side of the screen, this panel allows the designer to work on separate transparent sheets stacked on top of each other. For example, a designer can draw the body outline on one layer and the garment on a separate layer above it.
Look at the labelled diagram below to understand the layout of Autodesk Sketchbook.
Basic Digital Sketching Tools
Before starting a sketch, it is important to understand the functions of the basic tools available in digital sketching platforms.
The primary tools used in digital fashion sketching are:
- Selection Tools: These tools allow the designer to select a specific part of the drawing to move, resize, rotate, or duplicate. This is useful when adjusting the symmetry of a sleeve or the position of a pocket.
- Line and Shape Tools: These tools help the designer draw perfect straight lines, circles, ovals, rectangles, and curved lines. They are essential for drawing structured garment parts like collars, waistbands, and hems.
- Brush Tools: These simulate real-world drawing instruments. Pencils are used for rough sketching, ink pens are used for clean outlines, and paintbrushes or markers are used for filling in colours.
- The Eraser Tool: This tool is used to remove unwanted lines, clean up messy edges, or correct mistakes without affecting the rest of the drawing.
- The Flood Fill Tool (Paint Bucket): This tool allows the designer to fill an enclosed shape with a solid colour instantly, making the colouring process much faster than manual shading.
How to Start Sketching in Autodesk Sketchbook
This section provides a practical, step-by-step guide on how to open the application, practice basic drawing techniques, apply colours and textures, and sketch a simple garment.
How to Open the Application and Draw Basic Shapes
The procedure for starting a new project and drawing basic shapes involves the following steps:
- Launch the Autodesk Sketchbook application on the device.
- Click on the File menu at the top and select New Sketch to open a clean white canvas.
- Go to the Brush Library on the left and select the Pencil tool for rough sketching.
- Select the Shape Tool from the top menu bar and choose the Line option.
- Click and drag on the canvas to draw straight horizontal, vertical, and diagonal lines.
- Switch the shape tool to Rectangle or Circle to draw perfect geometric shapes on the canvas.
How to Explore and Apply Colours
Applying colour brings a fashion sketch to life. The procedure for selecting and applying colours involves the following steps:
- Open the Colour Editor or click on the Colour Puck to display the colour wheel.
- Drag the cursor around the outer ring of the wheel to choose a base colour (such as blue, red, or yellow).
- Drag the cursor inside the inner square of the wheel to adjust how light or dark the colour should be.
- Select the Flood Fill (Paint Bucket) tool from the top menu bar.
- Click inside any of the closed geometric shapes drawn earlier to fill them with the selected colour. Ensure the shape is completely closed so the colour does not leak onto the rest of the canvas.
How to Apply Textures to Drawings
Textures represent different types of fabrics, such as lace, cotton, wool, or local Nigerian fabrics like Ankara and Adire. The procedure for applying textures involves the following steps:
- Go to the Brush Library and scroll down to find the Texture Brushes or Half-tone Brushes.
- Select a texture brush that resembles a fabric pattern (such as a checkered pattern, dots, or rough fabric weave).
- Choose a suitable colour from the Colour Editor.
- Gently brush over the coloured shape to apply the texture pattern on top of the base colour.
- Alternatively, use the Import Image tool from the menu bar to place a real photo of an Ankara fabric onto the canvas, then crop it to fit the shape of the drawing.
How to Draw a Simple Garment
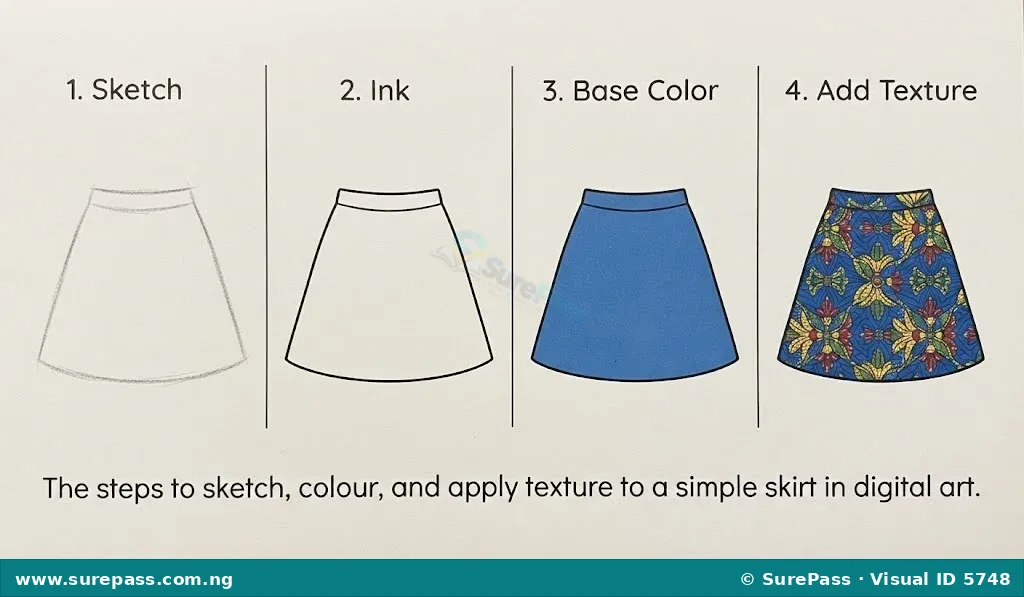
The procedure for sketching a simple garment, such as a basic skirt or a T-shirt, involves the following steps:
- Create a new layer in the Layer Editor so the garment sketch is kept separate from the practice shapes.
- Select the Pencil Tool and choose a light grey colour to sketch the basic outline of the garment (for example, a simple A-line skirt).
- Create another layer on top of the pencil sketch.
- Select the Felt-Tip Pen or Inking Pen with a black colour to trace over the pencil sketch, creating clean, dark outlines.
- Hide or delete the pencil sketch layer so that only the clean black outline of the garment is visible.
- Use the Flood Fill Tool to apply a solid colour to the garment.
- Use a texture brush to add a fabric pattern, making the garment look realistic.
- Save the completed design by clicking File, selecting Save As, and choosing a format like PNG or JPEG.
Observe the step-by-step process of drawing and colouring a simple garment below.
Summary of Digital Sketching Steps
The table below summarizes the key actions and the corresponding tools used in Autodesk Sketchbook:
| Action | Tool Used | Location on Screen |
|---|---|---|
| Creating rough outlines | Pencil Tool | Brush Library (Left) |
| Drawing straight edges | Line/Shape Tool | Menu Bar (Top) |
| Correcting mistakes | Eraser Tool | Brush Library (Left) |
| Choosing fabric colours | Colour Wheel / Puck | Colour Editor (Right/Floating) |
| Filling large areas with colour | Flood Fill (Paint Bucket) | Menu Bar (Top) |
| Adding fabric patterns | Texture Brushes / Import Image | Brush Library / Menu Bar |
Evaluation Exercises
Answer the following questions and carry out the practical activities:
- What is a digital sketching platform?
- State three types of digital sketching platforms used in fashion design.
- Identify the part of the Autodesk Sketchbook interface that allows a designer to work on separate transparent sheets.
- Explain the function of the Flood Fill (Paint Bucket) tool in digital sketching.
- Practical Exercise 1: Open Autodesk Sketchbook on a computer or mobile device. Draw three basic geometric shapes (a square, a circle, and a triangle). Use the Colour Editor and the Flood Fill tool to colour each shape differently.
- Practical Exercise 2: Using Autodesk Sketchbook, sketch a simple garment such as a T-shirt or a straight skirt. Apply a solid colour to the garment and use a texture brush to give it a fabric-like appearance. Save your work as an image file.




0 comments
Open the discussion when you need it. Comments stay collapsed until requested so the initial article remains light.