



ARTICLE CONTENTSOn this page 11 sections
Sewing Simple Garment
Performance Objectives
By the end of the lesson, students should be able to:
- Sew simple garment;
- model the finished garment.
Introduction to Sewing a Simple Garment
A simple garment is an easy-to-make article of clothing or wear that requires minimal pattern pieces, basic seams, and straightforward assembly techniques.
Examples of simple garments include aprons, simple elastic-waist shorts, basic patch-pocket skirts, and simple shift tops. For beginners in garment making, starting with a simple utility apron is highly recommended. It helps learners master the foundational skills of laying patterns, cutting fabric, and joining pieces together without the complexity of advanced fitting adjustments.
Tools and Materials for Garment Making
Successful garment construction depends on the correct selection and use of sewing tools. Having the right equipment ensures accuracy, safety, and a neat finish.
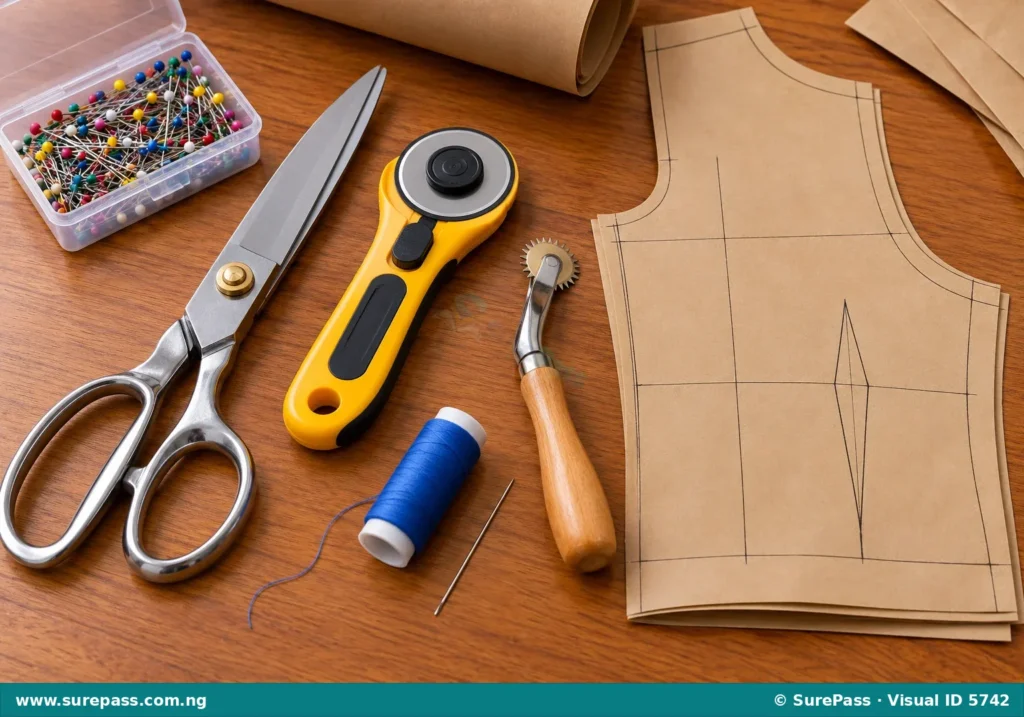
The essential tools and materials for sewing a simple garment include:
- Pattern pieces: Paper templates of the garment parts used as guides to cut the fabric.
- Pins: Small, sharp metal needles with heads used to temporarily hold pattern pieces to fabric or to hold fabric layers together before sewing.
- Scissors: Sharp cutting shears used specifically for cutting fabric cleanly without fraying the edges.
- Rotary cutter: A tool with a circular blade that rotates, used on a cutting mat to cut straight lines and multiple layers of fabric smoothly.
- Tracing wheel: A tool with a serrated or smooth metal wheel attached to a handle, used with dressmaker’s carbon paper to transfer pattern markings onto fabric.
- Hand sewing needle: A slender metal tool with an eye at one end for thread, used for temporary tacking or hand-stitching.
- Sewing machine: A mechanical or electrical machine used to join fabric pieces together with permanent stitches.
- Sewing thread: Fine strands of spun fiber, which can be matching (to blend with the fabric) or contrasting (for decorative or temporary stitches).
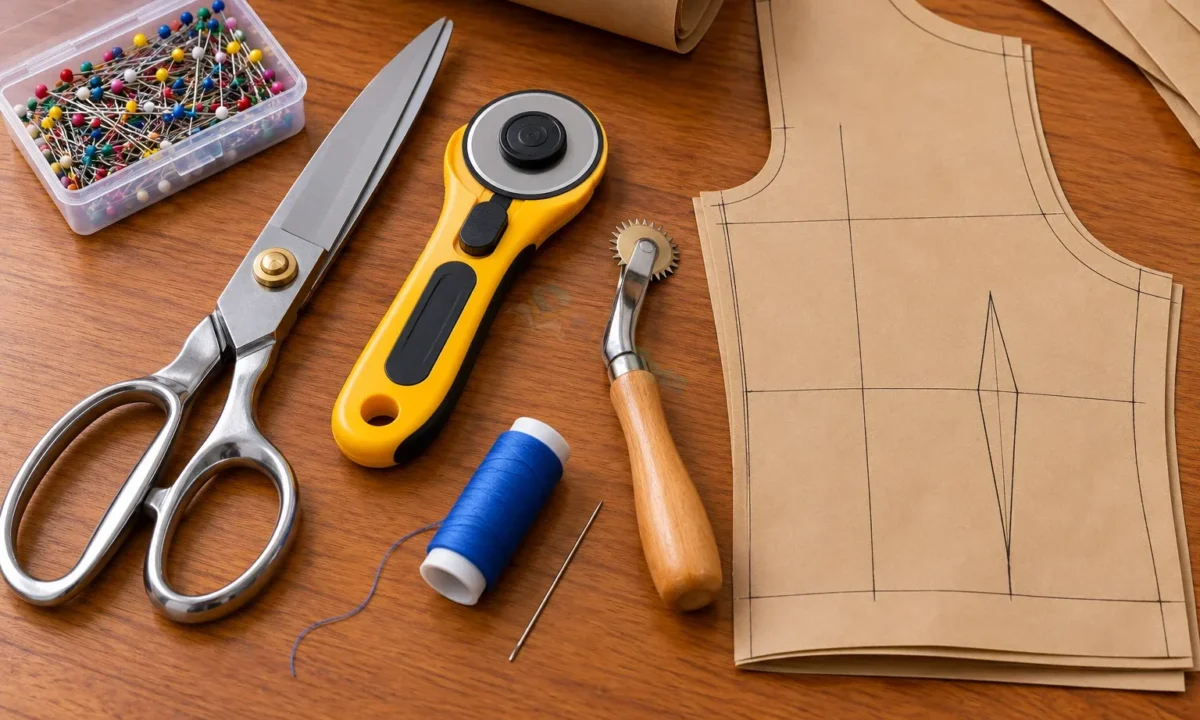
Observe the image below to identify the essential tools used in garment making.
Laying Pattern Pieces on Fabric
Laying pattern pieces is the process of arranging paper templates on fabric in the most economical and correct way before cutting.
Before laying the pattern, the fabric must be prepared. Preparation involves washing the fabric to pre-shrink it, drying it, and pressing it with an iron to remove all wrinkles. Wrinkles can cause inaccurate cutting, making the finished garment too small or misshapen.
Important rules for laying pattern pieces include:
- Identify the grainline: Every pattern piece has a grainline arrow. This arrow must run parallel to the selvage (the finished woven edge of the fabric). Aligning the grainline ensures the garment hangs and stretches correctly when worn.
- Observe the fold line: Some pattern pieces have a “place on fold” instruction. This edge of the pattern must be placed exactly on the folded edge of the fabric so that a single, symmetrical piece is cut out when unfolded.
- Arrange economically: Place the largest pattern pieces on the fabric first, followed by the smaller pieces. This arrangement prevents fabric wastage.
- Pin securely: Pin the pattern pieces to the fabric. Pins should be placed diagonally at the corners and along the edges, pointing inward, to keep the paper flat against the fabric.
The diagram below shows the correct layout of pattern pieces on folded fabric.
Cutting the Fabric
Cutting is the process of using shears or a rotary cutter to slice through fabric along the outlines of pinned pattern pieces.
Accurate cutting is critical because any mistake made during this stage cannot easily be corrected later. The fabric must remain flat on the cutting table throughout the process.
Guidelines for cutting fabric include:
- Keep the fabric flat: Do not lift the fabric off the table while cutting. Lifting causes the lower layer of fabric to shift, resulting in uneven pieces.
- Use long, smooth strokes: Cut with the middle and back of the scissor blades rather than the tips. This prevents jagged edges.
- Follow the cutting line: Cut exactly along the solid cutting lines of the pattern pieces. Do not cut the paper pattern itself.
- Practice safety: Always cut away from the body. Keep fingers away from the path of the scissors or rotary cutter. Close the blade of a rotary cutter immediately after use.
Transferring Pattern Markings
Pattern markings are symbols such as dots, notches, darts, and pocket placement lines printed on paper patterns that must be copied onto the fabric to guide assembly.
These markings show exactly where to join pieces, fold hems, or attach pockets. The most common method of transferring markings is using a tracing wheel and dressmaker’s carbon paper.
The procedure for transferring markings involves the following steps:
- Place the dressmaker’s carbon paper between the pattern and the fabric, with the colored carbon side facing the wrong side of the fabric.
- Roll the tracing wheel firmly along the marking lines on the paper pattern.
- Remove the carbon paper to reveal the transferred dotted lines on the fabric.
Assembling and Sewing the Garment Pieces
Assembling is the process of joining the cut fabric pieces in a logical order using temporary and permanent stitches to form the complete garment.
To demonstrate this skill, the following procedure explains how to assemble a simple utility apron.
The required materials are:
- Cut fabric pieces (one main apron body, two waist ties, one neck strap, and one pocket piece)
- Matching sewing thread
- Pins
- Hand sewing needle
- Sewing machine
- Iron and ironing board
The assembly procedure involves the following steps:
- Prepare and attach the pocket: Fold the top edge of the pocket piece twice to create a neat hem, pin it, and sew across. Fold the remaining three raw edges inward by 1 centimeter and press with an iron. Pin the pocket onto the marked position on the front of the main apron body. Tack (baste) it in place by hand, then sew permanently close to the side and bottom edges using the sewing machine.
- Prepare the straps and ties: Fold the neck strap and waist ties in half lengthwise with the right sides facing inward. Sew along the long edge, turn them right side out, and press flat with an iron.
- Hem the apron edges: Fold the side and bottom edges of the main apron body inward twice to hide the raw edges. Pin and tack these hems.
- Position and secure the straps: Insert the ends of the neck strap at the top corners of the apron, and the waist ties at the side corners, tucking them into the folded hems. Pin them securely.
- Perform permanent sewing: Sew along the pinned hems of the apron using a sewing machine or neat hand stitches. Reinforce the points where the straps and ties are attached by sewing back and forth over them several times.
- Final pressing: Remove all temporary tacking threads. Press the completed apron thoroughly with an iron to flatten the seams and make the garment look neat.
The diagram below illustrates the step-by-step assembly of the simple utility apron.
Displaying and Modeling the Finished Garment
Once a garment is completed, it must be presented for evaluation and appreciation.
Modeling is the act of wearing a finished garment to show its fit, design, and functional movement to an audience.
Displaying and modeling allow the maker to receive feedback on the quality of their work. It also builds confidence in garment-making skills.
Methods for displaying and evaluating a finished garment include:
- Hanger display: Hanging the garment neatly on a clean clothes hanger to show its shape, drape, and overall neatness.
- Mannequin display: Placing the garment on a dress form or mannequin to show how it fits a three-dimensional body shape.
- Modeling: Having a student wear the garment and walk gracefully in front of classmates. This demonstrates how the garment fits, how comfortable it is, and how the straps or ties function during movement.
- Evaluation and discussion: Examining the finished product closely. Students and teachers discuss the neatness of the stitches, the straightness of the hems, the correct placement of the pocket, and how well the garment fits the model.
Summary
Sewing a simple garment involves a systematic process that begins with careful preparation. Selecting the correct tools, such as scissors, pins, and sewing machines, ensures efficiency. Laying pattern pieces accurately along the fabric grainline and fold lines prevents errors during cutting. Once cut, the fabric pieces are assembled in a logical sequence using temporary tacking before permanent sewing. Finally, displaying and modeling the finished garment provides an opportunity to evaluate the quality of the work, celebrate success, and identify areas for improvement.
Review Questions
Answer the following questions to test your understanding of the lesson:
- Define a simple garment and give two examples.
- State the functions of the following tools in garment making:
- Tracing wheel
- Pins
- Rotary cutter
- Explain two important rules to follow when laying pattern pieces on fabric.
- Why is it important to avoid lifting the fabric off the table while cutting?
- Describe the steps involved in assembling a simple utility apron.
- What is modeling, and why is it useful after completing a garment?



0 comments
Open the discussion when you need it. Comments stay collapsed until requested so the initial article remains light.