


ARTICLE CONTENTSOn this page 6 sections
Drawing
Performance Objectives
By the end of the lesson, students should be able to:
- define drawing;
- state types of drawing;
- list materials for drawing;
- make a drawing.
Meaning of Drawing
Drawing is the art of making pictures or images on a surface using lines, shapes, and marks.
It is a way to express ideas, feelings, and observations using tools like pencils, charcoal, or crayons on paper or other surfaces. Drawing helps people to show what they see, imagine, or remember.
Types of Drawing
There are different types of drawing, each focusing on a particular subject or style. These types help artists to categorise their work and choose the best way to represent what they want to draw.
The main types of drawing include:
- Still Life Drawing
- Life Drawing
- Landscape Drawing
- Nature Drawing
- Imaginative Drawing
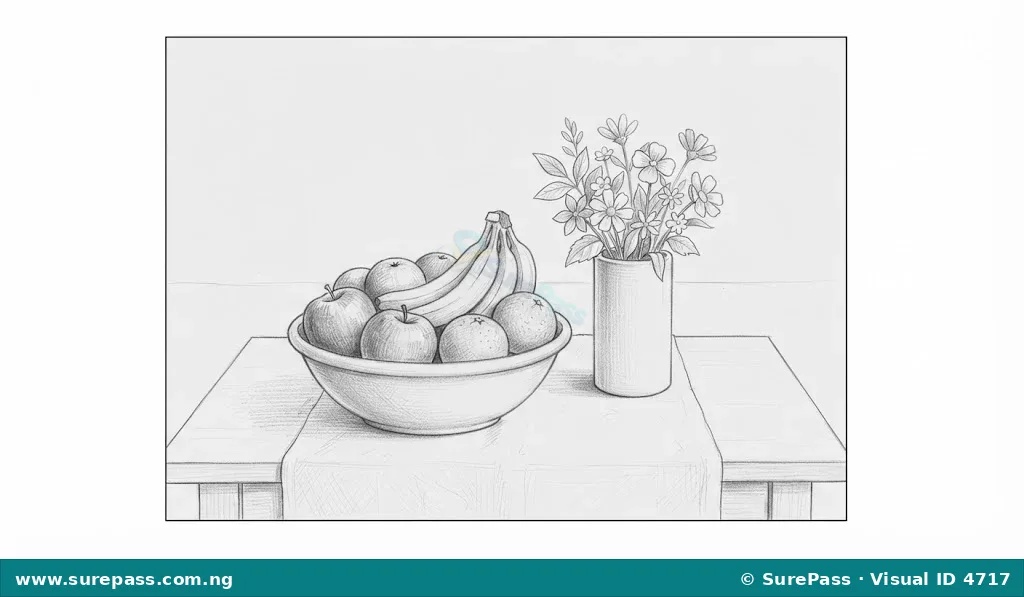
Still Life Drawing
Still life drawing is the art of drawing inanimate objects that do not move. These objects are usually arranged in a specific way by the artist.
Examples of objects used in still life drawing include fruits, vegetables, bottles, books, flowers in a vase, or household items. The artist arranges these objects and then draws them as they appear.
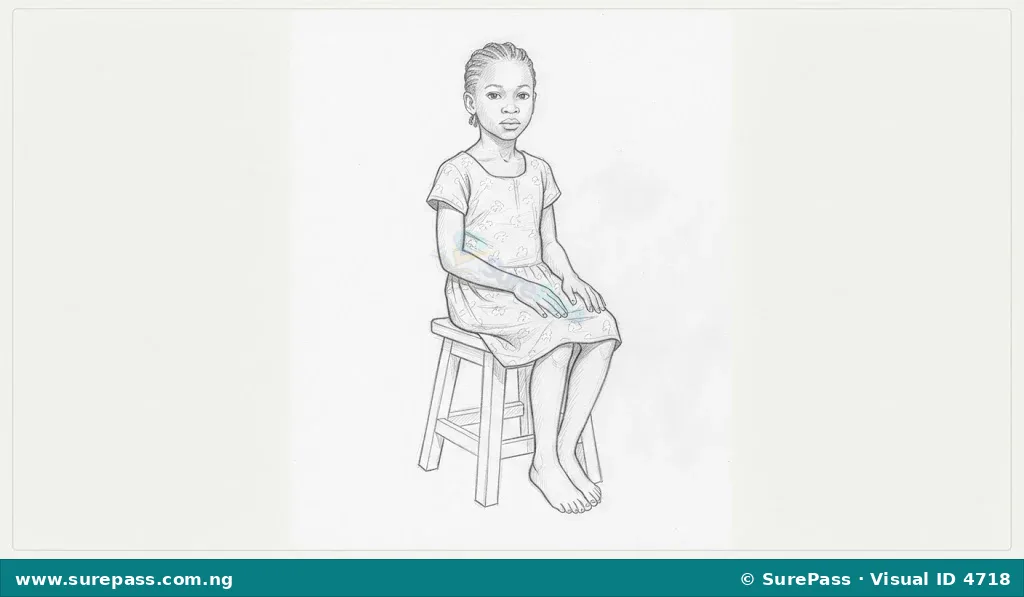
Life Drawing
Life drawing involves drawing living things, especially human figures or animals, directly from observation.
Artists observe the poses, movements, and forms of people or animals and try to capture them on paper. This type of drawing helps artists understand anatomy and movement.
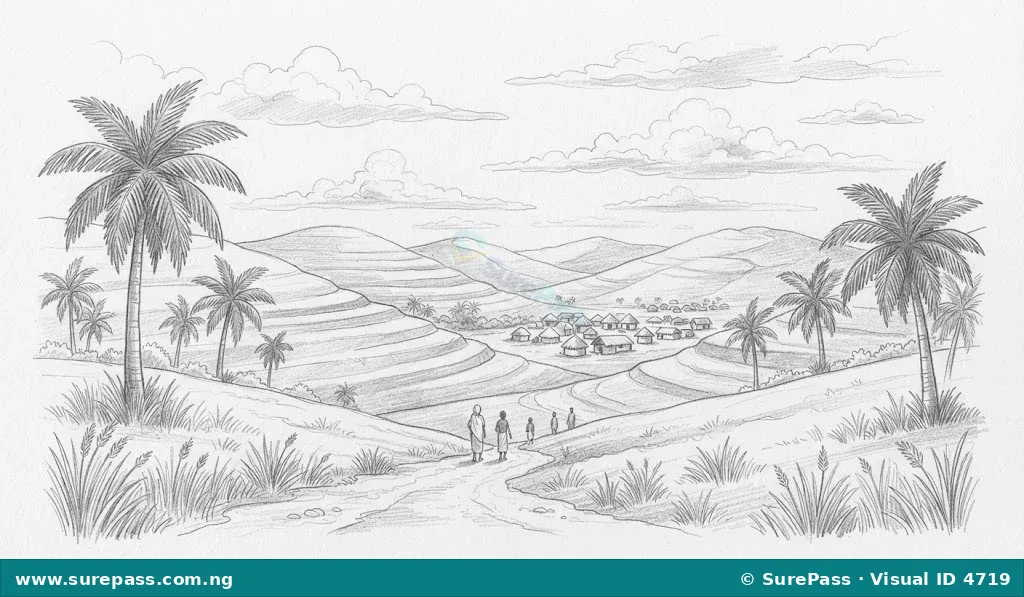
Landscape Drawing
Landscape drawing is the art of drawing natural scenery, such as mountains, rivers, trees, fields, and skies.
It can also include man-made structures within a natural setting, like houses or bridges. Artists often draw landscapes to capture the beauty of outdoor environments.
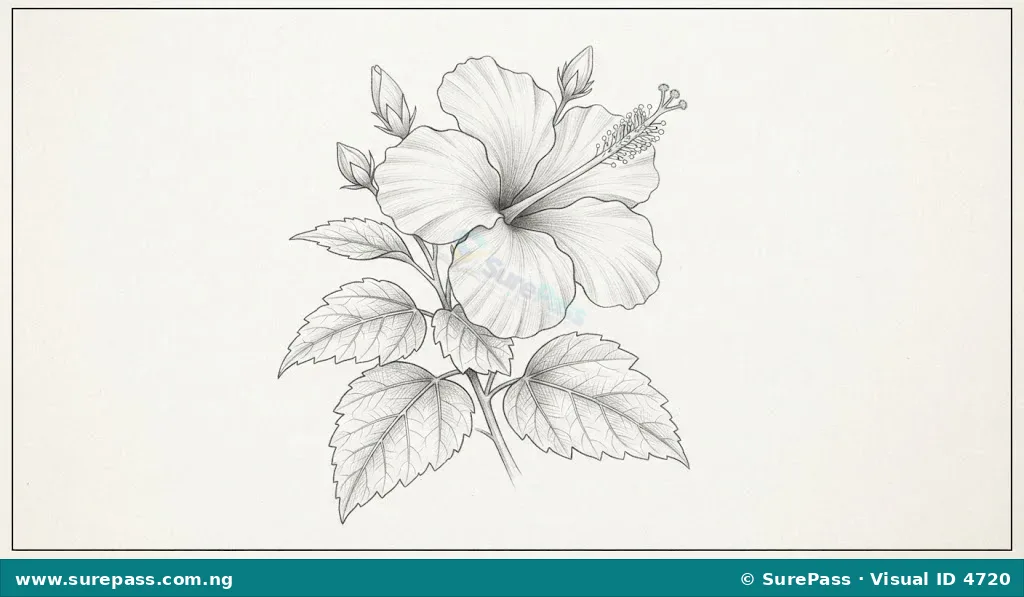
Nature Drawing
Nature drawing focuses on drawing specific elements from nature, such as individual plants, flowers, leaves, insects, or rocks.
Unlike landscape drawing which captures a wide scene, nature drawing often zooms in on smaller details of the natural world. It helps artists appreciate the intricate patterns and forms found in nature.
Imaginative Drawing
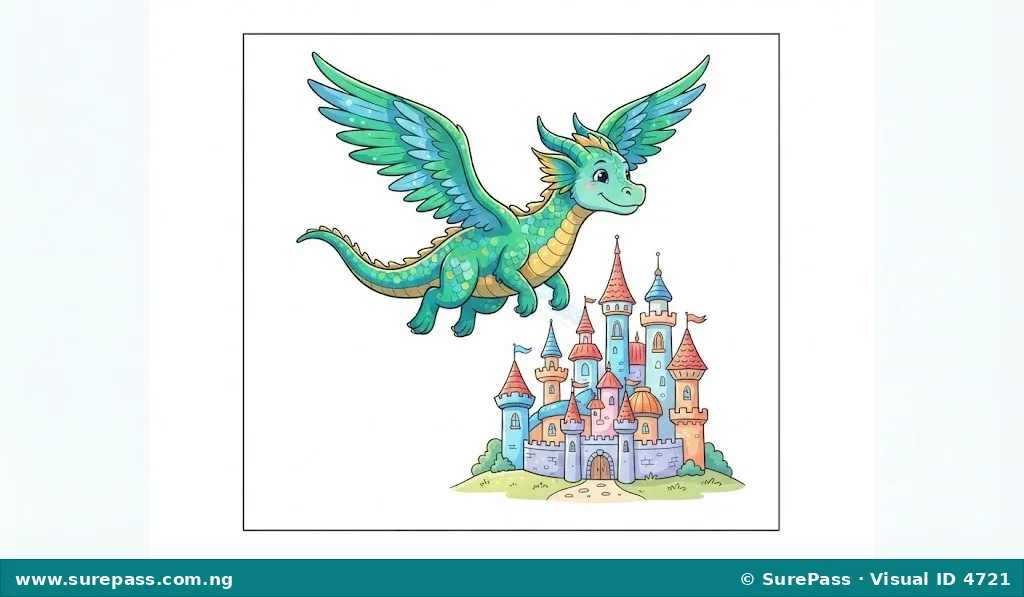
Imaginative drawing is creating pictures from the artist’s mind, without looking at real objects or scenes.
This type of drawing allows artists to bring their dreams, fantasies, ideas, and stories to life. It can include drawing mythical creatures, futuristic cities, or scenes from a story that only exists in their imagination.
Materials for Drawing
To make a drawing, artists use various materials. These materials help to create different effects and textures in the artwork.
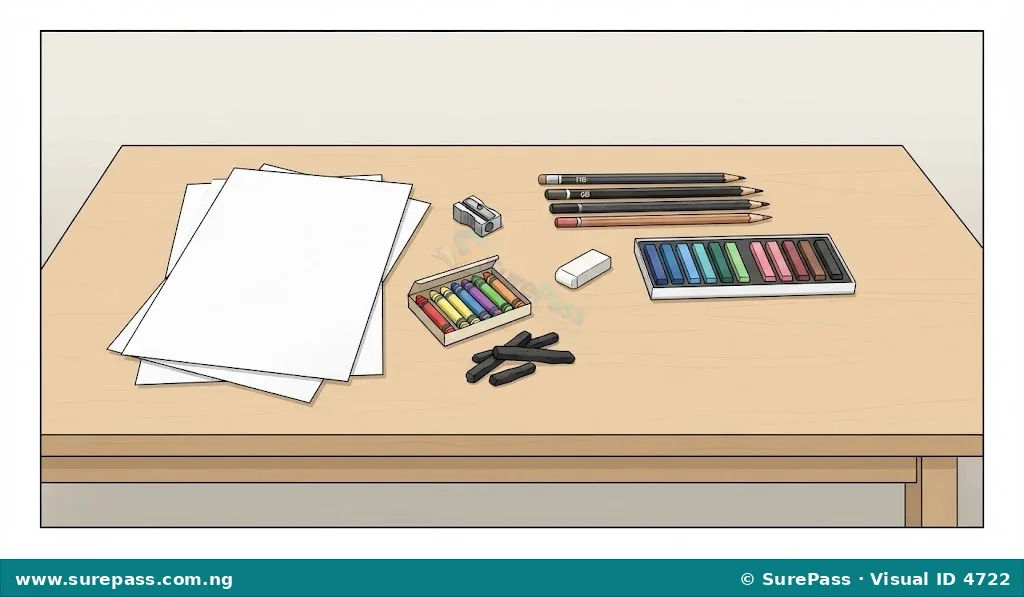
Common materials used for drawing include:
- Pencil: Pencils are the most common drawing tool. They come in different hardness levels, from soft (darker lines) to hard (lighter lines).
- Eraser: An eraser is used to remove pencil marks or to lighten areas of a drawing.
- Sharpener: A sharpener is used to keep pencils pointed, which helps in making clear and precise lines.
- Drawing Paper: This is the surface on which drawings are made. It comes in different sizes and textures.
- Charcoal: Charcoal is a soft, black drawing material that creates dark, smudgy lines and tones.
- Crayons: Crayons are coloured wax sticks used for drawing and adding colour to artworks.
- Pastels: Pastels are soft, chalk-like sticks that come in many colours and can be blended easily to create smooth colour transitions.
Skills in Drawing: Drawing and Shading
Drawing involves more than just making lines. Two important skills that help to make drawings look realistic and interesting are drawing itself and shading.
How to Make a Simple Drawing
Making a drawing involves several steps, from planning to adding details. Practising these steps helps to improve drawing skills.
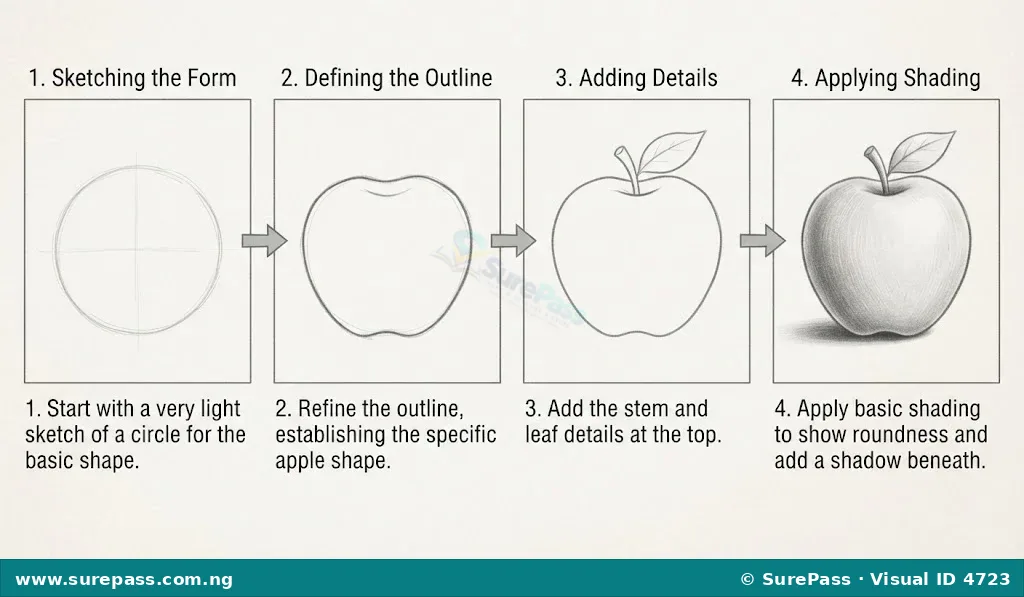
The procedure to make a simple drawing involves the following steps:
- Choose Your Subject: Decide what you want to draw. It could be a fruit, a simple house, or a tree.
- Gather Materials: Get your pencil, paper, eraser, and sharpener ready.
- Light Sketch: Start by drawing very light lines to outline the basic shapes of your subject. Do not press hard on the pencil.
- Refine Shapes: Look at your subject carefully and refine the light lines to make the shapes more accurate. Use your eraser to correct mistakes gently.
- Add Details: Once the main shapes are correct, add smaller details like textures, patterns, or smaller parts of the object.
- Outline: Go over the final lines with a slightly firmer hand to make them clearer.
Shading in Drawing
Shading is the technique of adding different tones of light and darkness to a drawing. It helps to make objects look three-dimensional and real, rather than flat.
When you shade, you show where light hits an object and where shadows fall. This creates depth and form.
The procedure for basic shading involves the following steps:
- Identify Light Source: Imagine where the light is coming from. This will tell you which parts of your drawing should be brightest and which should be darkest.
- Apply Light Tones: Use very light pressure with your pencil to add a soft tone to the areas that are slightly shaded.
- Build Up Darker Tones: Gradually increase the pressure on your pencil or use a softer pencil to make areas that are further from the light source darker.
- Blend (Optional): You can use your finger, a tissue, or a blending stump to smooth out the pencil marks and create an even tone.
- Add Cast Shadows: Draw a shadow on the surface where the object sits. This shadow should be darkest closest to the object and fade out.
- Highlight: Leave the brightest part of the object untouched or erase a small area to show where the light hits directly.


0 comments
Open the discussion when you need it. Comments stay collapsed until requested so the initial article remains light.