


ARTICLE CONTENTSOn this page 7 sections
Basics of programming
Performance Objectives
By the end of the lesson, students should be able to:
- explain the meaning of programming;
- mention the uses of programming;
- list programming tools;
- explain the step for programming;
- create a basic program using visual programming language.
What is Programming?
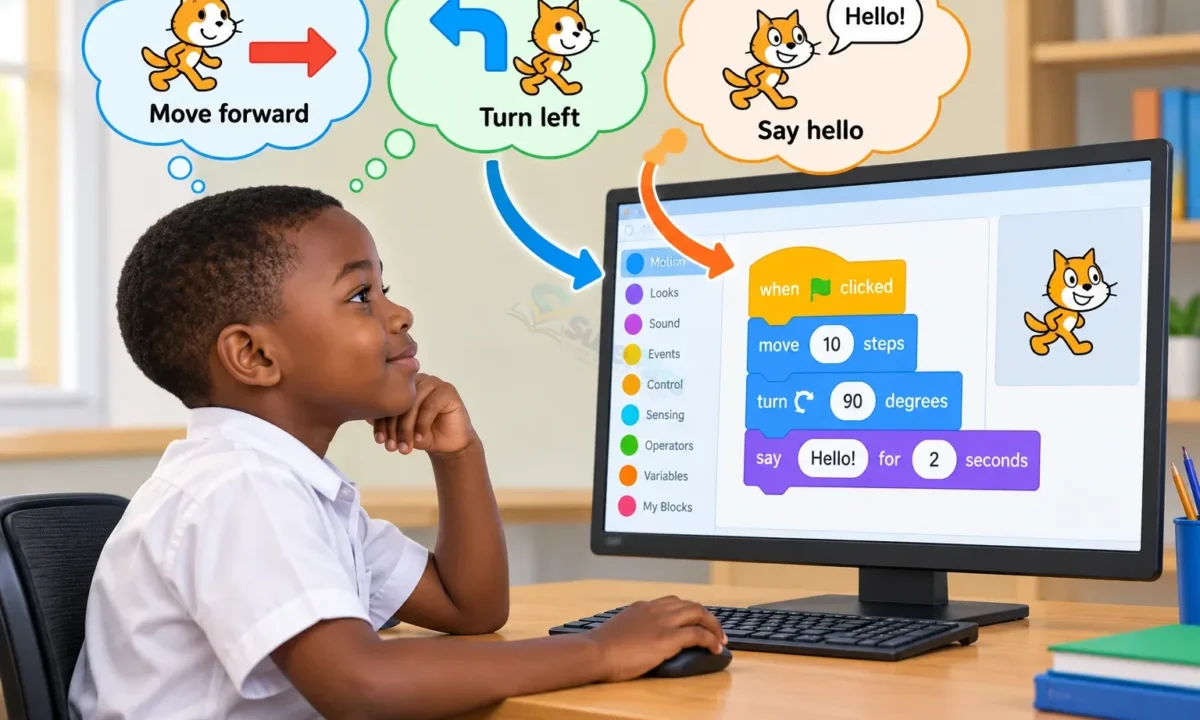
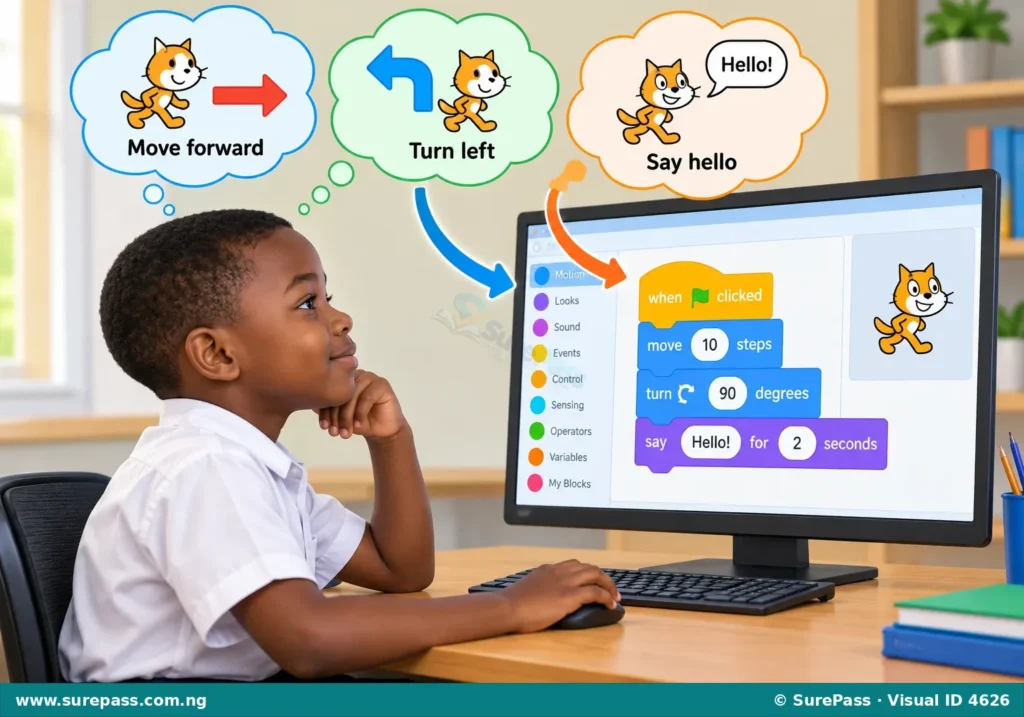
Programming is the process of giving a computer or a device a set of instructions to follow to do a specific task.
Imagine telling a friend exactly how to bake a cake, step by step. If the instructions are clear and in the right order, your friend will bake the cake correctly. In the same way, programming involves giving clear, step-by-step instructions to a computer. These instructions are called a program.
Why Do We Program? (Uses of Programming)
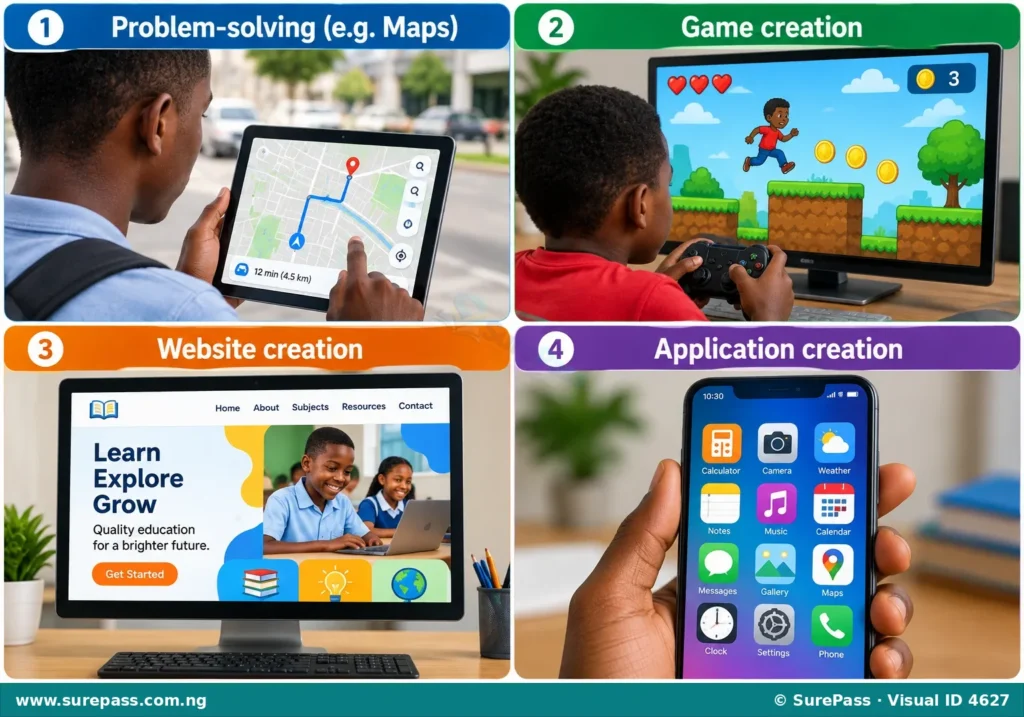
Programming is used for many important things in our daily lives. It helps us create the technology we use every day.
Problem Solving
Programming helps people solve problems. For example, a program can calculate difficult sums quickly, help find the shortest route on a map, or organise a large list of names.
Creating Games
Many popular games played on phones, tablets, and computers are created using programming. Programmers write instructions to make characters move, score points, and interact with the game world.
Creating Websites
Websites like those used for learning, shopping, or sharing information are built with programming. These programs tell the computer how to display text, pictures, and videos on the internet.
Creating Applications
Applications, also known as apps, are programs designed for specific tasks. Apps on mobile phones for chatting, taking pictures, or listening to music are all created through programming.
Tools for Programming
To write programs, especially for beginners, special tools are used. These tools make programming easier by allowing users to drag and drop blocks of code instead of typing complex commands.
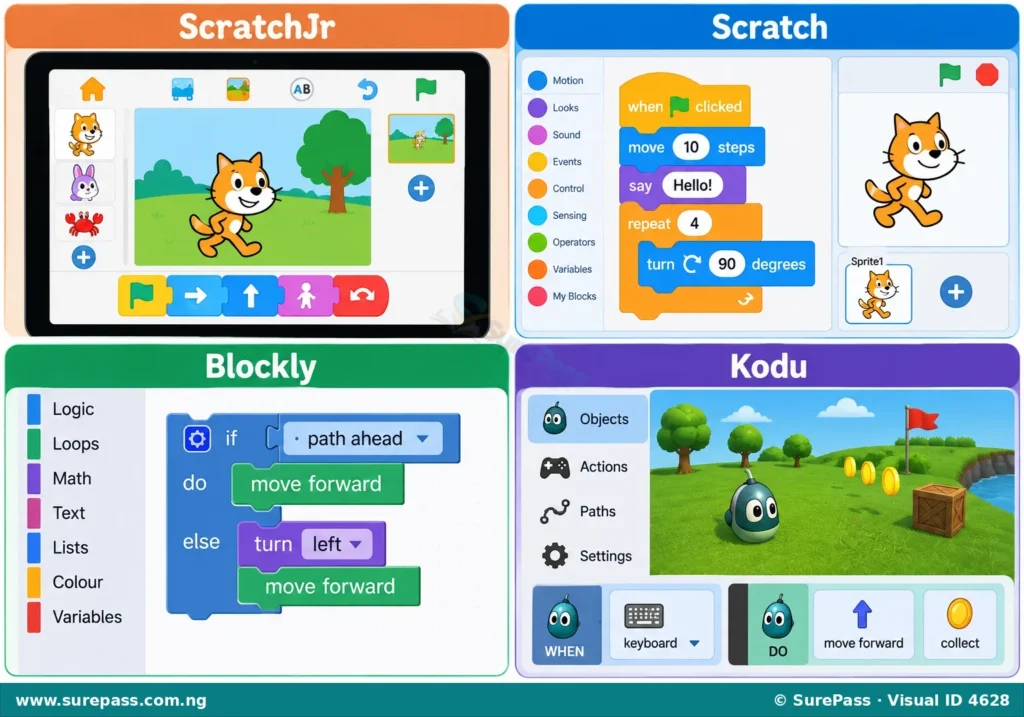
Common programming tools for children include:
- ScratchJr: This is a simple visual programming language designed for children aged 5-7. It allows them to create interactive stories and games by snapping together graphical programming blocks.
- Pictoblox: This tool is similar to Scratch and is used for block-based coding, often with robotics and hardware.
- Scratch: Developed by MIT, Scratch is a popular visual programming language for children aged 8 and above. It allows users to create animations, games, and interactive projects by dragging and dropping code blocks.
- Blockly: This is a visual programming editor that uses interlocking graphical blocks to represent code concepts. It is used in many educational programming environments.
- Kodu: Kodu Game Lab is a visual programming language designed to teach children how to create games on a PC or Xbox.
These tools help learners understand how programs work without needing to learn difficult text-based coding languages right away.
Steps to Create a Program
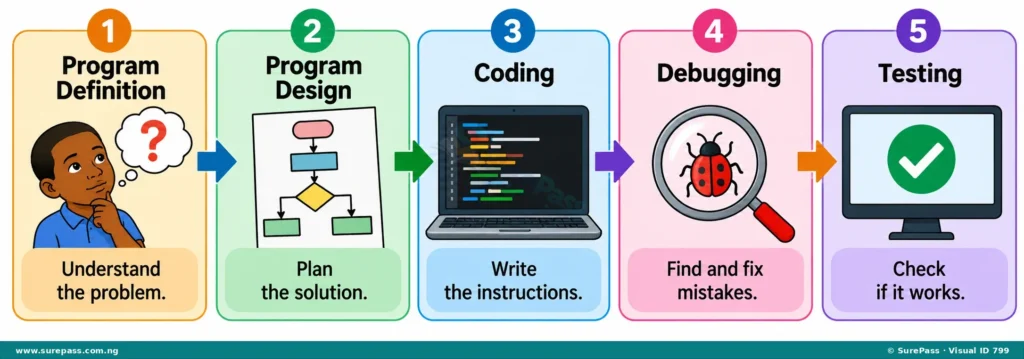
Creating a program involves several steps. Following these steps helps to build a program that works correctly.
1. Program Definition
This is the first step where the programmer understands what problem needs to be solved or what task the program should perform. It involves clearly defining the goal of the program.
2. Program Design
After defining the problem, the programmer plans how to solve it. This involves breaking down the main task into smaller, manageable steps and deciding the order in which these steps should happen. It’s like drawing a map before a journey.
3. Coding
In this step, the planned steps are translated into instructions that the computer can understand. Using programming tools like Scratch or Blockly, this means dragging and dropping code blocks in the correct sequence.
4. Debugging
Sometimes, programs do not work as expected because of mistakes in the instructions. Debugging is the process of finding and fixing these mistakes, which are called “bugs.”
5. Testing
Once the program is coded and any bugs are fixed, it needs to be tested. Testing involves running the program multiple times to make sure it works correctly for all intended situations and achieves its goal.
Creating a Basic Program
This section guides you through creating a simple program using visual programming concepts. The goal is to make a character move and say something.
Problem: Make a character move forward two steps and then say “Hello, world!”
The procedure involves the following steps:
- Define the Goal: The goal is to make a character move and speak.
- Design the Steps:
- Start the program.
- Move the character forward.
- Move the character forward again.
- Make the character say “Hello, world!”.
- Code the Program (using visual blocks):
Imagine you are using a visual programming tool. You would look for blocks that perform these actions.
- Find a “Start” block (often a green flag icon). Drag it to the coding area.
- Find a “Move Forward” block. Drag it and snap it below the “Start” block.
- Drag another “Move Forward” block and snap it below the first “Move Forward” block.
- Find a “Say” or “Speak” block. Drag it and snap it below the last “Move Forward” block.
- Type “Hello, world!” into the “Say” block.
- Debug: Look at your sequence of blocks. Are they in the correct order? Did you forget any steps? If the character moves three times instead of two, you might have an extra “Move Forward” block.
- Test: Run your program. Click the “Start” block (or green flag). Observe if the character moves two steps and then says “Hello, world!”. If it does, your program works!



0 comments
Open the discussion when you need it. Comments stay collapsed until requested so the initial article remains light.